Call us: 999-99-99
Home
About Us
Mission Statement
History
Officers
Bylaws
Contact Us
Membership
Application
Benefits
Resources
Members Only Resources
Meetings
Next Meeting
Directions
Event Schedule
Meeting Photos
Gallery
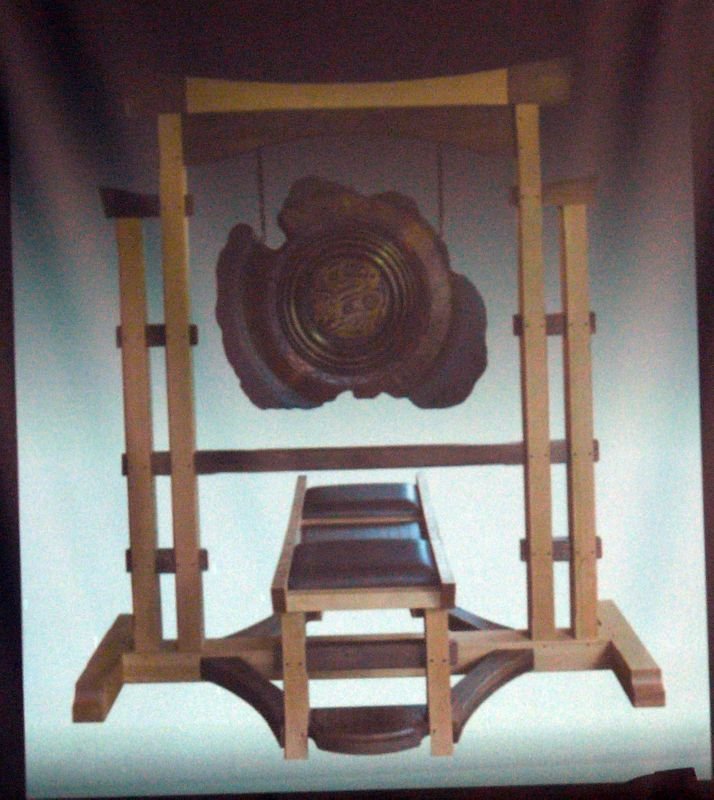
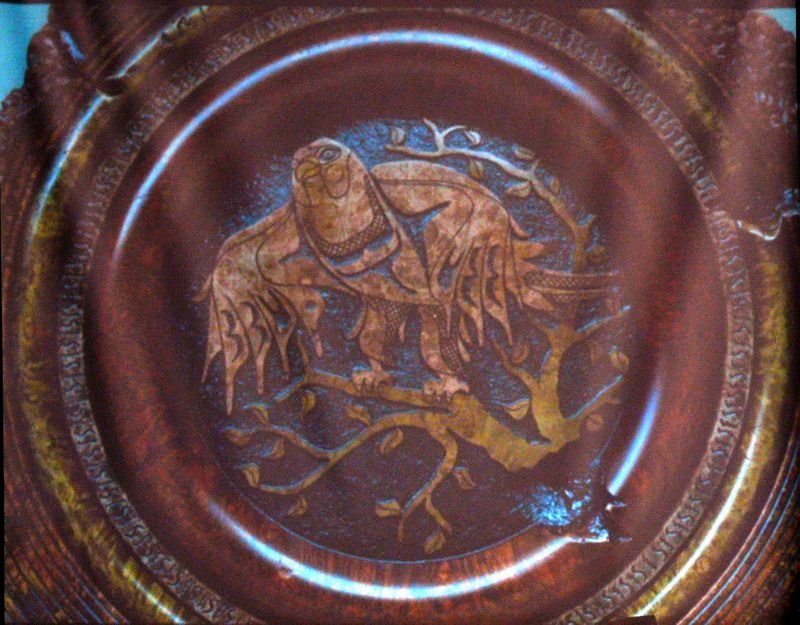
Member’s Work
Meeting Photos
Community Outreach
Ventura County Fair
Cabrillo Middle School
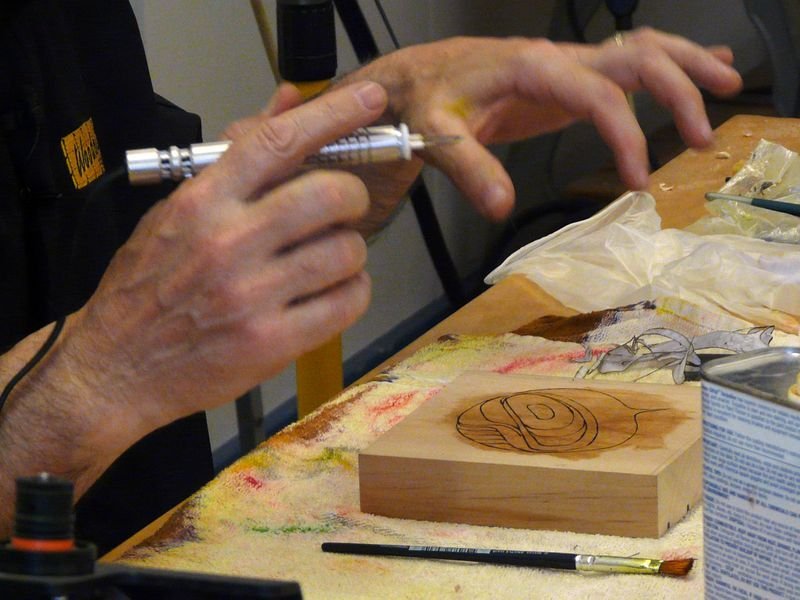
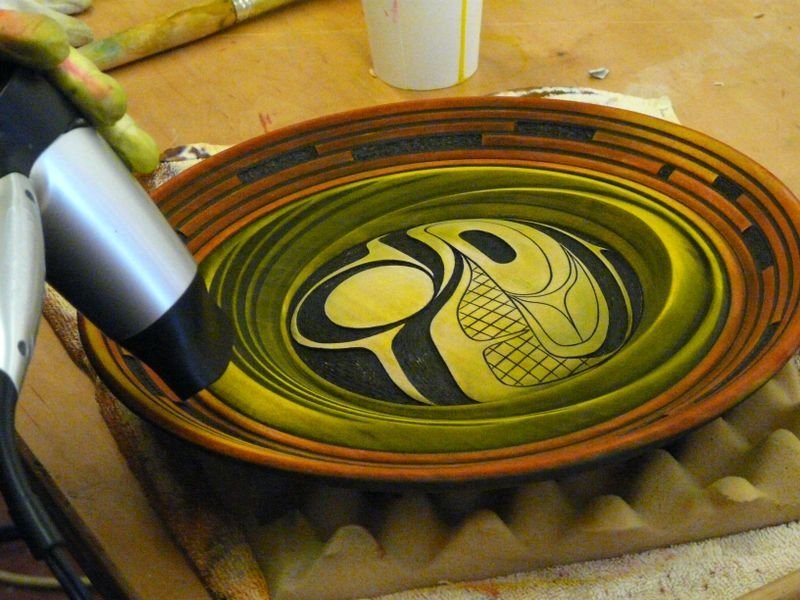
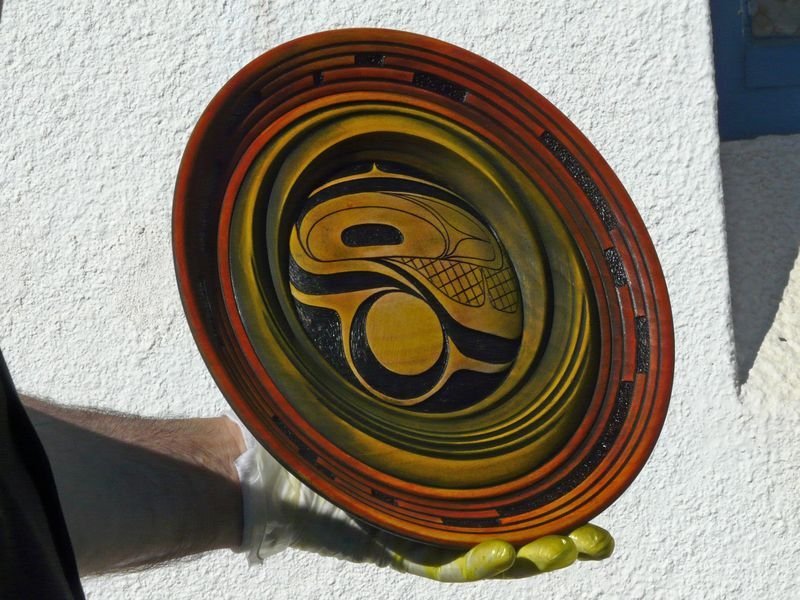
October, 2012 – Doug Fisher